
When I started practicing Astrophotography almost 10 years ago now, not many video tutorials and dedicated websites were available online. The information was sought in the forums of enthusiasts, and you had to understand the great picture through the threads and comments that were published. The world has changed quickly since then, and nowadays the sources that deal with this branch of photography are many. Despite this, there is still a tendency to take a lot for granted and a new enthusiast risks getting lost before even being able to start in the world of Astrophotography.
In this first article of this Astrophotography Guide for amateurs I want to introduce you to the material needed to start photographing the night sky. I will list all the main tools you need to capture the beauties of the universe, with some personal considerations that I think are useful before proceeding with any purchases.
But first, a brief introduction…
Astrophotography: a Game of Patience
Let’s start by saying that Astrophotography is a Journey. Unlike other branches of photography such as nature photography, the sky is in no hurry except for some astronomical events that are still predictable and for which you can still organize yourself in time. The approach to this discipline is very subjective and influenced by the character of the practitioner: the most hungry for glory among you will perhaps find it frustrating to have to throw whole evenings in the vain wait for the sky to clear up; but don’t worry guys…you have to measure the results in the long term. Having clarified this concept, let’s proceed with the list of the material.
Start with the Essential
The first piece of advice I would like to give you is not to rush into purchasing the equipment that many sites and online blogs claim to be essential. Expensive lenses and telescopes, tracking mounts and so on and so forth.
I believe that of all the tools and accessories that come out on the market every day, the holy trinity of a beginner astrophotographer is made up of a lens, a camera body and a tripod. A remote control, an intervalometer and everything else you can imagine is dripping gold if you have it, otherwise you don’t need it in first place. You will have time to buy these tools after a couple sessions If you want.
Tripod
To photograph objects in the sky, you must first be in solidarity with the rotating earth. For this reason it will be necessary to have a tripod to prevent your images from resulting blurred and, of consequence, ruined. Make sure that the tripod you are buying or in possession of is sufficiently solid and that it allows you to extend your legs to adjust the height: in this way you will avoid facing night sessions in an uncomfortable position. If you’re looking for a cheap but efficient solution, I have been using the Hama Star 260 Tripod since I started with no regrets.

Camera Body
The camera body market is in a transition phase from DSLR to Mirrorless systems. In this article I will not go into the differences between the two architectures and any pros and cons, but just be aware that today you can find DSLRs with full-frame sensors at an affordable price in the second-hand market. I use a Canon EOS 80D (with 24 megapixel APS-C sensor) and after years of use I still find this camera suitable for my needs.

Camera Lens
If you bought a Camera + Lens Kit, you probably already own a lens. Alternatively, what I am about to tell you is a general consideration. What we want to get is a shot in which the stars appear point-like and in which their motion in the sky is not perceptible in the final image. To do this, you will need to set a correct shutter speed, which will vary according to the focal length of your lens. In general, short focal lengths (no more than 50 mm) and wide apertures are chosen for wide-field astrophotography.
By fast lens we mean a lens whose aperture during shooting is such wide that it can collect the same amount of light with a reduced shutter speed when compared to a lens with a reduced maximum aperture value. The data to look at when referring to the lens aperture is the f-stop or focal ratio: the lower this value, the larger the aperture and the more light your camera sensor will be able to capture.
I first mentioned how the shutter speed is related to the need to have point-like stars, exception made for particular compositional techniques such as startrails. In Astrophotography the 500 Rule is widely used: to obtain the maximum exposure time value in seconds it is necessary to perform the following calculation:
t (sec) = 500 / focal length value (mm)
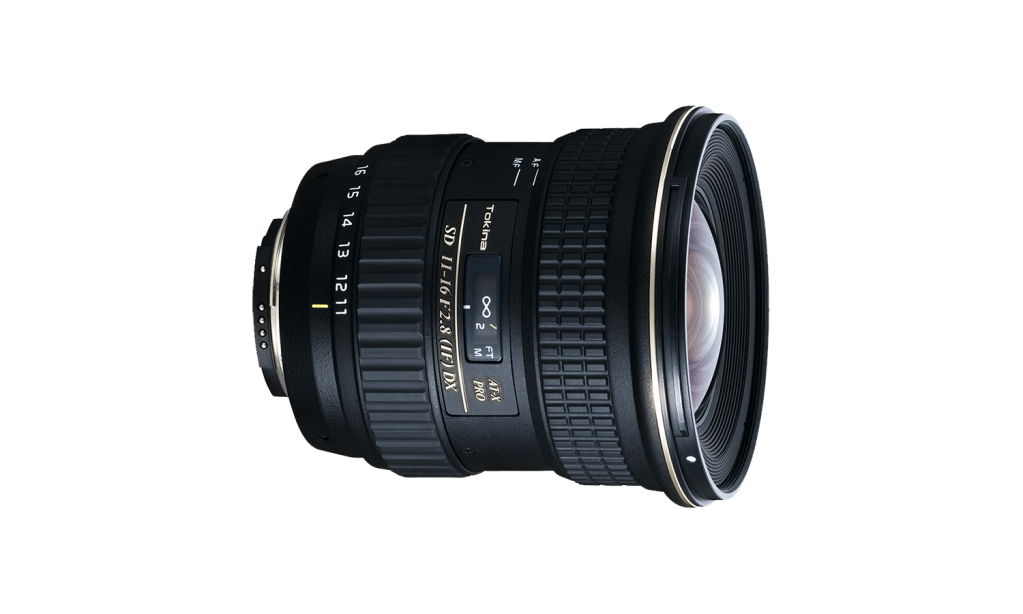
It is therefore quite clear that in order to obtain a higher exposure time value you have to go towards short focal lengths (remember that we’re always reasoning with the assumption of not having a guided mount). My advice, however, is not to select a wide angle lens (or even fish-eye lens) as your first lens: these lenses suffer from lens flares despite the possibility of mounting a lens hood on top of them. A lens between 24 and 35 mm with an f-stop of 2.8 or lower would be ideal, but also consider that brighter lenses usually have a higher price. Personally, I have made extensive use of an 18-200mm and still when I capture large fields I use the Canon 18-135 f/3.5-5.6 IS USM and the Tokina AT-X 116 PRO DX II
Accessories
In this second section I want to mention accessories that could be used to improve your Astrophotography sessions.
Remote Shutter
To avoid taking blurry photos, could arise the need to buy a remote shutter to avoid having interaction with the camera before and during shooting. The purchase of a remote shutter, although very useful, can in my opinion be avoided at least in the first period by setting a shutter timer of at least 2sec in your camera. This function, present in almost all compact or professional cameras on the market, will give the entire tripod/camera assembly time to dampen any vibrations induced by clicking on the button.
Battery Pack
The astrophotography sessions are often very long: you will hardly find yourself spending less than an hour of your time outside between preparation and execution of the shots. In addition to this, the outside temperature decreases during the night, lowering the efficiency of the battery. A first idea could be to remove the battery once it is discharged and to easily replace it with a second charge. Some cameras, however, have the slot accessible from the lower side of the body, which in case of hooking to the tripod is partially or completely obstructed. If this is the case, then it will be better to purchase a battery pack, which will expand your slot by an additional battery compartment. This way you won’t have to take the camera off the tripod and prevent your session from being completely thrown away.
Intervalometer
The intervalometer allows you to send signals to the machine by commanding consecutive shots at a desired exposure time and by setting a delay time between the end of a shot and the start of the next one. This tool is very useful in photography and Astrophotography in case you want to make timelapses and startrails. Not all entry-level and mid-range camera bodies embed the intervalometer functionalities, so if you intend to take this kind of compositions, you can consider purchasing this accessory.
Ok I think it’s enough for the hardware part. at this point you should have a fairly clear idea of everything you need to start diving into the world of Astrophotography! Next article will be focused on the basic softwares that can help you in planning and executing your Astrophotography sessions!
